
Whether you need to save a digital receipt, capture an error message for IT support, or grab a funny meme to send to a friend, taking a screenshot is one of the most essential computer skills you can learn. However, depending on the brand and operating system of your laptop, the exact keys you need to press can vary wildly.
If you are staring at your keyboard wondering which buttons to push, do not worry. Here is a complete, easy-to-follow guide on how to take a screenshot on any laptop.
🪟 How to Take a Screenshot on a Windows Laptop
Windows offers several built-in methods to capture your screen, ranging from a simple full-screen grab to precise, custom-shaped snips.
1. The “Print Screen” Key (The Classic Method)
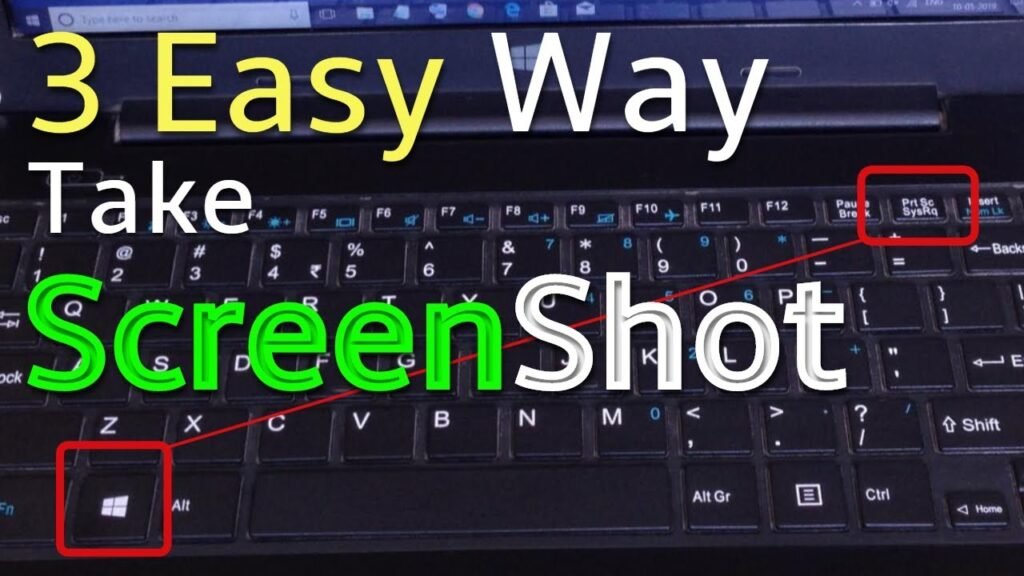
Look at the top row of your keyboard for a key labeled PrtScn, PrntScrn, or Print Scr.
- Action: Press the PrtScn key once.
- Result: This copies an image of your entire screen to your clipboard. You must then open an app like Paint, Microsoft Word, or an email draft and press Ctrl + V to paste and save the image.
- Note: On some modern laptops, you may need to press the Fn + PrtScn keys simultaneously to trigger this function.
2. Snip & Sketch / Snipping Tool (For Precision)
If you only want to capture a specific part of your screen, this is the best method.
- Action: Press Windows Key + Shift + S.
- Result: Your screen will dim, and a small menu will appear at the top. Your mouse cursor will turn into a crosshair. Click and drag to select the exact area you want to capture. The image is instantly saved to your clipboard, and a notification will pop up allowing you to edit or save the file.
3. Save Directly to a Folder (The Fastest Method)
If you are taking multiple screenshots in a row and do not want to paste them one by one.
- Action: Press the Windows Key + PrtScn.
- Result: Your screen will briefly flash, indicating the screenshot was taken. The file is automatically saved as a PNG image in your Pictures > Screenshots folder.
4. Capture Only the Active Window
- Action: Click on the specific window you want to capture, then press Alt + PrtScn.
- Result: This captures only the active window (ignoring your taskbar and desktop background) and saves it to your clipboard.
🍏 How to Take a Screenshot on a Mac (MacBook)
Apple keeps things highly standardized. There is no dedicated “Print Screen” key; instead, you rely on a few easy-to-remember keyboard shortcuts.
1. Capture the Entire Screen
- Action: Press Command (⌘) + Shift + 3.
- Result: You will hear a camera shutter sound (if your volume is up). The screenshot will automatically save as a file on your Desktop.
2. Capture a Specific Portion of the Screen
- Action: Press Command (⌘) + Shift + 4.
- Result: Your cursor turns into a crosshair. Click and drag over the area you want to capture. When you release your mouse or trackpad, the screenshot is saved to your Desktop.
3. Open the Screenshot Menu (MacOS Mojave and later)
- Action: Press Command (⌘) + Shift + 5.
- Result: A control panel appears at the bottom of your screen. From here, you can choose to capture the entire screen, a selected window, or a custom portion. You can also use this menu to record a video of your screen and change where your screenshots are saved.
💻 How to Take a Screenshot on a Chromebook
Chromebooks have unique keyboards, meaning the standard Windows and Mac shortcuts will not work here.
1. Capture the Entire Screen
- Action: Press Ctrl + Show Windows (the key that looks like a rectangle with two lines next to it, usually located where the F5 key would be on a standard keyboard).
- Result: The screenshot is taken and instantly saved to your Downloads folder.
2. Capture a Specific Area
- Action: Press Ctrl + Shift + Show Windows.
- Result: Your screen dims. Click and drag the crosshairs to select the area you want to save.